sin03
Dark Knight
Registered: 08-2008
Location: Canada
Posts: 986
|
|
Reply | Quote
|
|
Upgrading a Rubies Dark Knight Cowl, step by step w/pics.
The background on this little project can be found here.. You can find some pictures and product info there. As well I would like to once again thank everyone who contributed to that thread - you bats got me started on this!
Okay so most people dislike the rubies product line. And, as I began looking over the cowl, my enthusiasm over owning my first cowl soon began to disappear and was replaced by a desire to make this the best it can be. Here's how the 2 day project progressed.
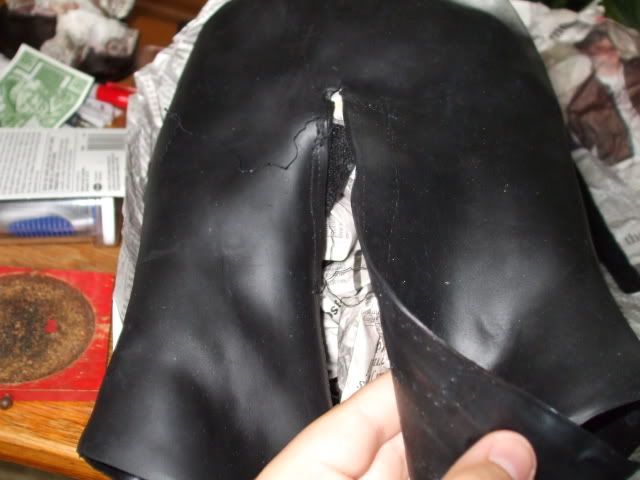
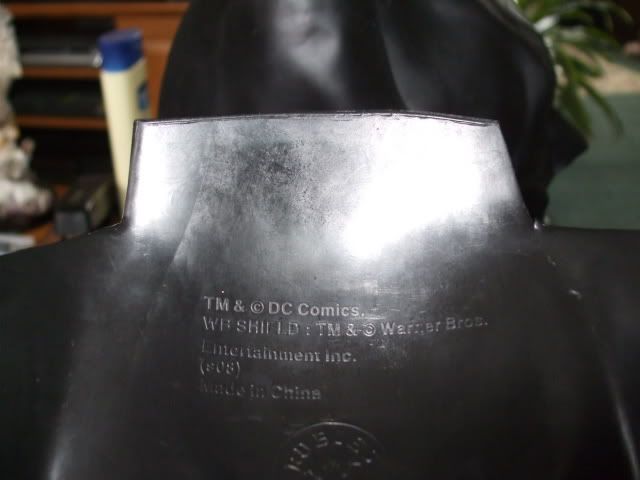
Step 1: Get rid of that ugly velcro strip on the back of the cowl. I used a stitch ripper for this. Also, note the small tear at the top of the stretch hole.
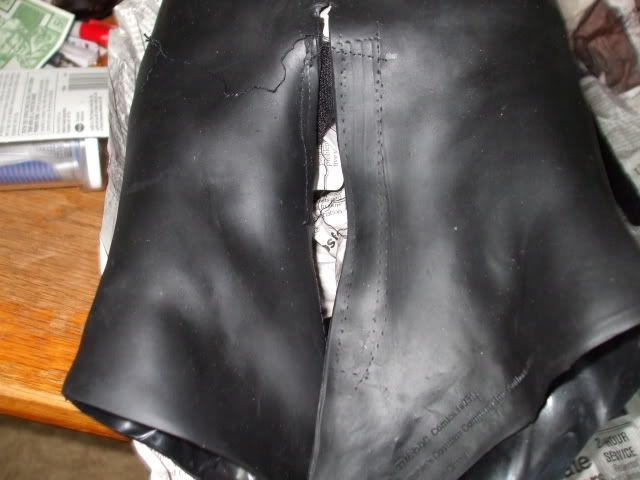
Step 2: Fix the tear. Basically I increased the size of the stretch hole that is suppose to be there. Using a black pen, I drew the "new" circle.

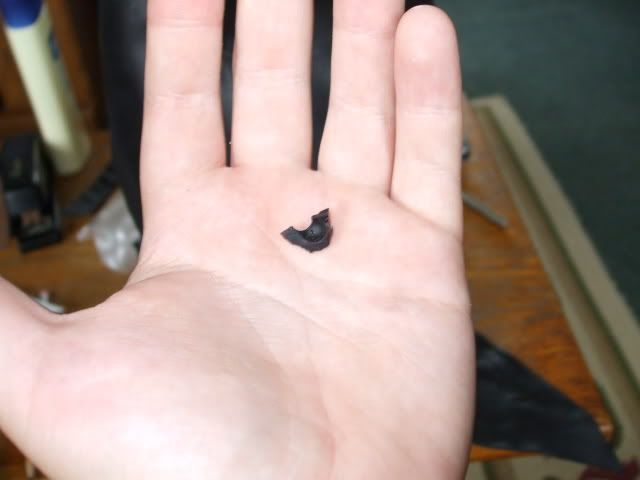
Using a pair of scissors I CAREFULLY cut out the circled piece of latex. As you can tell I really didn't cut that much off.
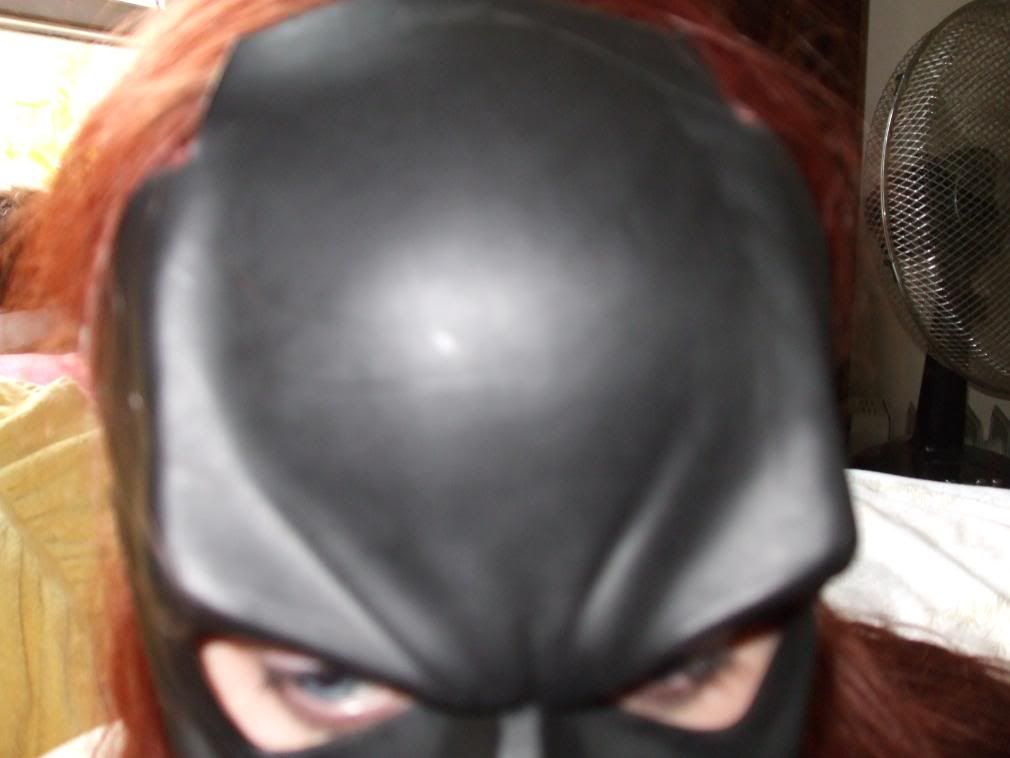
Step 3: Get rid of the cowl's wrinkles. Put the cowl back onto the mannequin and blow dry the crap out of it. I spent probably 20-30 minutes going over the entire cowl. By the time I was done the latex was really, really warm, but it did help return to cowl to its "factory state." I noticed that it helped pop out the right cheek molding a little bit though this never completely recovered. Some bats told me to put the cowl into a pillow case and then throw into the dryer. I would have done this but I was unable to find the appropriate dryer setting and time info. for this. (Sorry guys, I have misplaced my pictures of this. Take my word for it though: it helped! lol)
With that done, I moved on to "customizing" a Rubies Dark Knight Adult Face Mask.
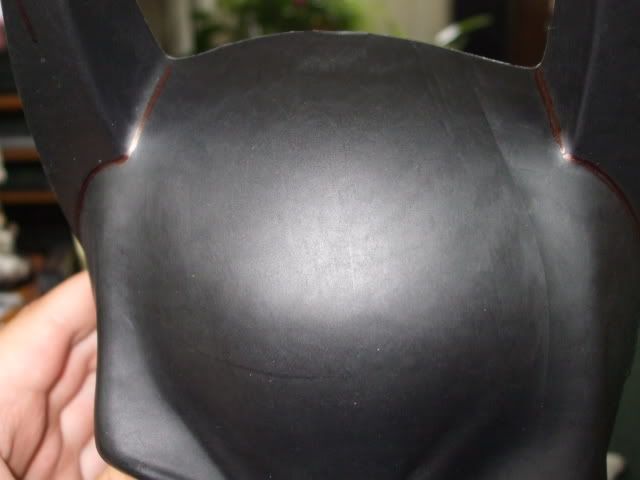
Step 4: Draw out your cut. Because the ears of the plastic mask will stop it from sitting inside the cowl they have to go. Using a red sharpie, I followed the natural curvature of the top of the mask to draw my cut lines.
Step 5: Cut the ears off. I used scissors to cut the straight parts and an exacto knife to get the curves and then to fix up any imperfections with the cut. I was left with this (don't mind my friend):
Step 5: Get out your sand paper. Where I cut the ears off was now very, very sharp. Sand down the ends and round out corners so they do not pierce the inside of the cowl. Also, inside the face mask there is some rubies product info that I didn't want imprinted on my fore-head...so that went too!
 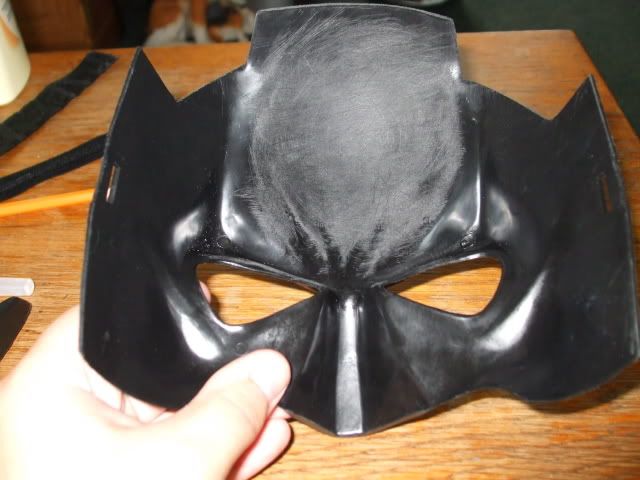
Get rid of all the plastic bits that the sand paper has created (running the plastic mask under a faucet will do the trick). Now its time to "combine" the face mask and cowl.
Step 6: Clean the surfaces. Get some rubbing alcohol and cotton batten and clean the exterior of the face mask. I got a gross red colour on my cotton batton after doing this - just shows how dirty things can get. After letting the cowl cool for about an hour (you probably don't need this long but I waited an hour) take it off of the mannequin and lightly apply rubbing alcohol to the inside of the face. Do not proceed with the next steps until both the face mask and cowl are dry.
Step 7: Sizing up. Take the face mask and place it inside the cowl to get that perfect fit. I actually put my head into the cowl with the mask in it and my friend helped to line it up. Some bats recommend taking pen/pencil and tracing where the eyes line up on the face mask. I did this but over all this wasn't very helpful (I'll explain why below).
Step 8: Glue time (nose)! Once you are happy with the position of the face mask in the cowl its time to glue. I highly recommend you get another person to help with this. I glued the nose first: I shoved the nose of the mask into the cowl and pulled the latex firmly. Get your friend to hold this in place. Then take the latex nose and role it over to expose the plastic nose. I used gel-based super glue. Put glue on the top of the nose and sides (I made lines as opposed to dots), pull the latex back over and then pull really tight. Hold this for about one minute.

Step 9: Glue time (forehead)! Once the glue has hardened glue the forehead of the plastic mask into the cowl (I rolled up the opening of the cowl like a sock to get the forehead, applied a to on glue using the natural ridges of the plastic mask as a guide. Pull the latex across the plastic very very firmly.
Step 10: Glue time (eyes and brows)! This is where things can get tricky. Basically I put the glue bottle through the cowl eyes for this. I followed the ridges of the mask the best I could and pulled the latex hard across the plastic. I recommend doing one eye at a time. By following the ridges of the plastic mask the lines I drew around the eyes eventually disappeared (that's why I'm not so hot on tracing them).
I really wish I could provide more direction for gluing but it is a hard process and requires a "wait and see" approach. The best advice I can give is this: my purpose here was to use the plastic mask to make the cowls ridges more firm - the mask is meant to reinforce the cowl. Make sure you pull the cowl tight across the glued face mask and hold long enough for the glue to harden. You will need to re-glue at times. Keep in mind though that you want some give here so that you can get the thing back on your face when everything has dried. I let the cowl dry over night.
Be careful not to glue your fingers together or to the cowl/mask. (continued below)
Last edited by TheKingaSwing, 3/7/2011, 9:16 am
---
Current Project:
Gauntlets: http://www.runboard.com/bbrotherhoodofthebat.f4.t204452
|
|
8/25/2008, 12:11 pm
|
Link to this post
Send PM to sin03
|
sin03
Dark Knight
Registered: 08-2008
Location: Canada
Posts: 986
|
|
Reply | Quote
|
|
Re: Upgrading a Rubies Dark Knight Cowl - lots of pictures
Step 11: Install a zipper. I let my friend do this since I can't sew. As you can see, they did a really good job:
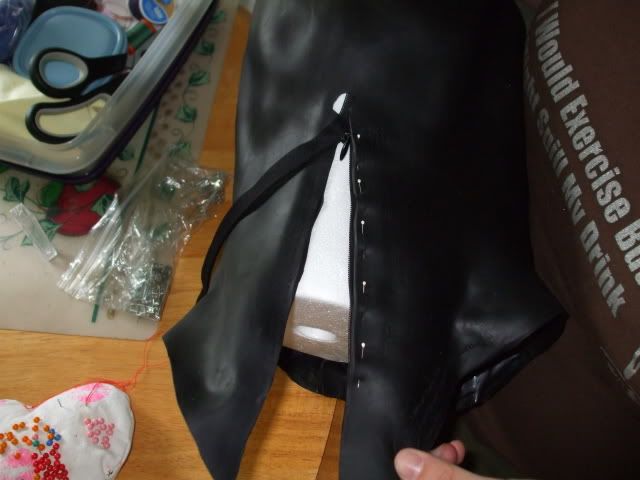
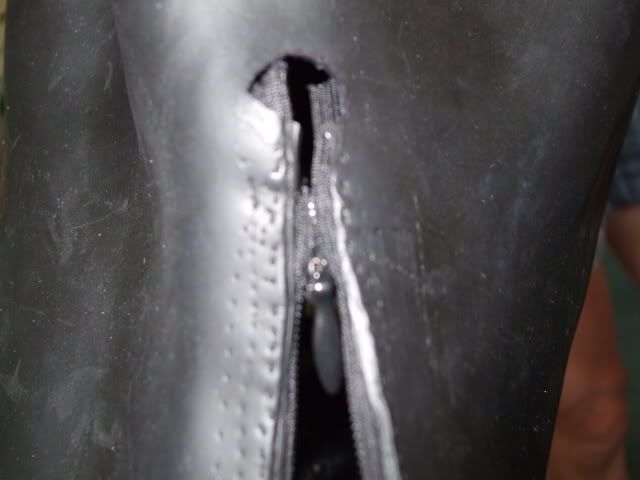
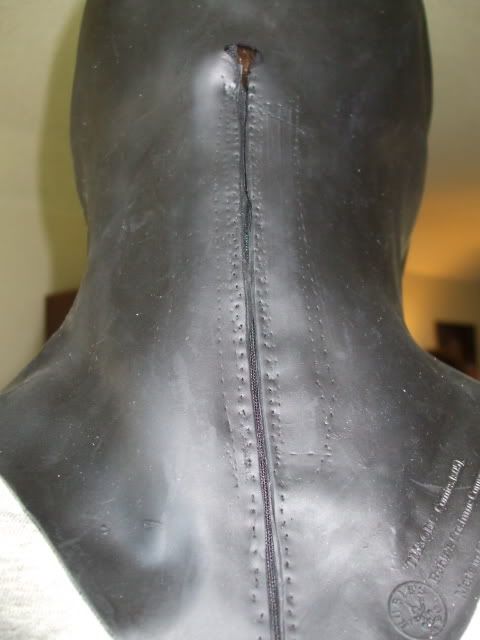
Before sewing the zipper in, put the cowl on (AFTER THE GLUE HAS DRIED) to see how tight the zipper needs to make the cowl. The purpose here, as someone in the previous thread pointed out, is to make it more secure.
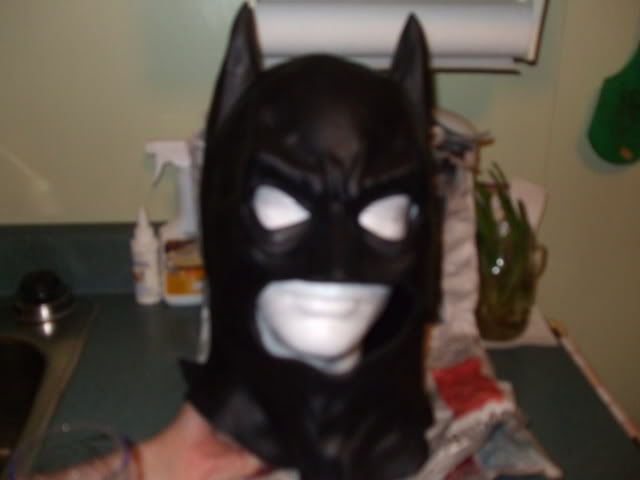
AND THATS IT!!!! WHAT DO YOU GUYS THINK OF THE FINISHED PRODUCT:
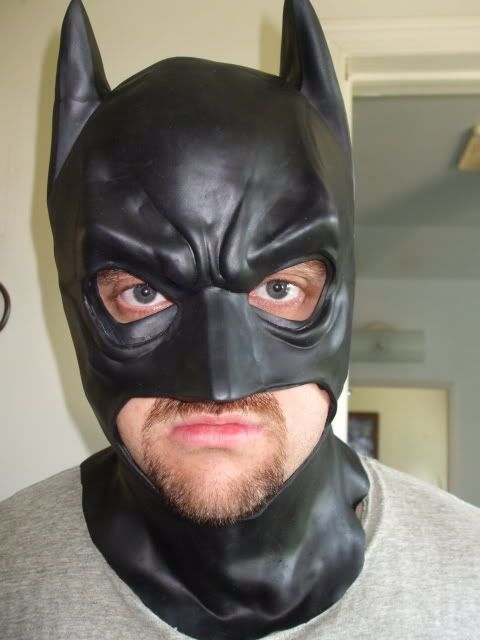 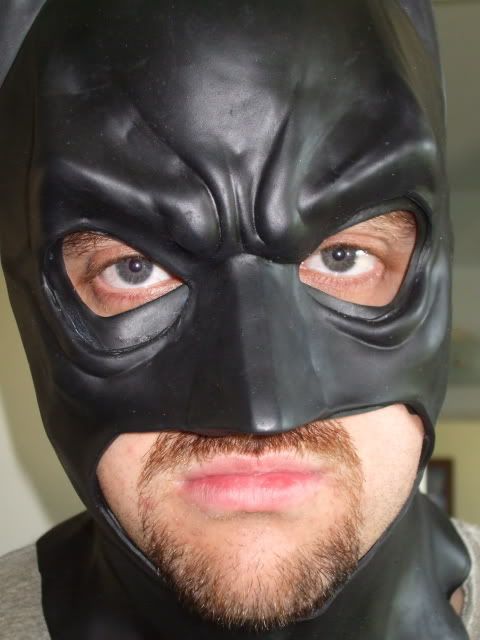
Overall, I am happy with the outcome and think that it was worthwhile doing. This takes time and patience so don't rush this.
Some final thoughts:
1) Rubies really screwed up the eyes/nose of their cowl. Gluing the face mask in really helped the nose, but the eyes are still a problem as you can see below:

There is some good news though: it looks like by taking about 1 centimetre off of the exposed plastic could correct this. It something I'm still thinking (I haven't gone ahead and done it because cutting could be be difficult).
2) Painting. I think a paint job would help the layered effect that the plastic mask has created. I do like the layered effect and I think paint could help this even more. It would help the entire cowl as well.
3) Ears. I still have the plastic ears and am considering how I could incorporate them into the cowl. Glue and model magic anyone?
Well my bros that's what I did this weekend. For my first project I am very, very pleased.
Best,
Jason.
Last edited by sin03, 8/25/2008, 12:31 pm
---
Current Project:
Gauntlets: http://www.runboard.com/bbrotherhoodofthebat.f4.t204452
|
|
8/25/2008, 12:12 pm
|
Link to this post
Send PM to sin03
|
BatJet3
Caped Crusader
Registered: 10-2006
Location: Dallas, TEXAS
Posts: 1546
|
|
Reply | Quote
|
|
Re: Upgrading a Rubies Dark Knight Cowl - lots of pictures
So, lots of pictures, huh?
;)
|
|
8/25/2008, 12:13 pm
|
Link to this post
Send Email to BatJet3
Send PM to BatJet3
|
pollyestergrimm
Caped Crusader
Registered: 01-2008
Location: Boston
Posts: 1514
|
|
Reply | Quote
|
|
Re: Upgrading a Rubies Dark Knight Cowl - lots of pictures
none of your images work.
none...
did you use the img tag?
---
"I want...my PHONECALL, i want my phone call...i want it..."
|
|
8/25/2008, 12:14 pm
|
Link to this post
Send Email to pollyestergrimm
Send PM to pollyestergrimm
|
doesitcomeinblack101
Caped Crusader
Registered: 08-2007
Posts: 2621
|
|
Reply | Quote
|
|
Re: Upgrading a Rubies Dark Knight Cowl - lots of pictures
go HERE
for pics
:up
--- Eden
Official Spelunker in The Cave and The Bat's Lair |
|
8/25/2008, 12:27 pm
|
Link to this post
Send Email to doesitcomeinblack101
Send PM to doesitcomeinblack101
|
doesitcomeinblack101
Caped Crusader
Registered: 08-2007
Posts: 2621
|
|
Reply | Quote
|
|
Re: Upgrading a Rubies Dark Knight Cowl - lots of pictures
now they work :grumble
--- Eden
Official Spelunker in The Cave and The Bat's Lair |
|
8/25/2008, 12:28 pm
|
Link to this post
Send Email to doesitcomeinblack101
Send PM to doesitcomeinblack101
|
sin03
Dark Knight
Registered: 08-2008
Location: Canada
Posts: 986
|
|
Reply | Quote
|
|
Re: Upgrading a Rubies Dark Knight Cowl - lots of pictures
All fixed!!! Sorry guys (glue fumes must have gotten to me lol).
Jason.
---
Current Project:
Gauntlets: http://www.runboard.com/bbrotherhoodofthebat.f4.t204452
|
|
8/25/2008, 12:32 pm
|
Link to this post
Send PM to sin03
|
mechroneal
BOTB Member
Registered: 07-2008
Location: Southern Orygun
Posts: 86
|
|
Reply | Quote
|
|
Re: Upgrading a Rubies Dark Knight Cowl - lots of pictures FIXED!!!
Wow, that is some RED hair!
|
|
8/25/2008, 12:54 pm
|
Link to this post
Send Email to mechroneal
Send PM to mechroneal
|
darkknighter
Apprentice
Registered: 02-2008
Location: England
Posts: 272
|
|
Reply | Quote
|
|
Re: Upgrading a Rubies Dark Knight Cowl - lots of pictures FIXED!!!
This Is Great, its helpful, intuitive and definitely one for the archives, I foresee many new bats coming to this thread with their rubies in hand. Well Done. :dancing  :up :up
|
|
8/25/2008, 1:02 pm
|
Link to this post
Send Email to darkknighter
Send PM to darkknighter
|
sin03
Dark Knight
Registered: 08-2008
Location: Canada
Posts: 986
|
|
Reply | Quote
|
|
Re: Upgrading a Rubies Dark Knight Cowl - lots of pictures FIXED!!!
Thanks Darkknighter! Never even thought about this going into the archives.
Mechroneal: All of this work and all you noticed was my friends red hair!!! ahhh!! lol FYI that isn't her natural hair colour.
---
Current Project:
Gauntlets: http://www.runboard.com/bbrotherhoodofthebat.f4.t204452
|
|
8/25/2008, 5:43 pm
|
Link to this post
Send PM to sin03
|


